A motorcycle carburetor helps sustain and control the air-fuel mixture, ensuring your car can run smoothly without encountering gas tank or engine issues.
Thus, keeping these carburetors clean and intact is important. Most people often resort to removing the carburetors for cleaning – a method that poses many installing/uninstalling troubles.
You can trust our expert team to deliver in this regard, lending you every tip there is to know.
Table of Contents
Signs That You Need to Clean The Carburetor
1. Your Engine Refuses to Start
Does your engine crank, turn over, or refuse to start? Dirty carburetors are at play here.
Excessive dirt in these devices prevents the air-fuel combination from traveling across the passages to reach your engine. Hence, the engine will keep turning over – but cannot get an actual start.
2. Your Engine Is Running Lean
“Run lean” refers to the thrown-off balance between the air and the fuel. Typical cases often boast an air-fuel ratio of 15:1 or 12:1, and if there is excessive air or insufficient fuel (the latter is much more common), popping or sneezing sounds will occur in the auto intake.
3. Your Engine Becomes Idle
For engines that start idling rough, numerous potential causes should be considered, including the dirty or malfunctioning carburetor. Car shaking and sputtering are the most notable signals that the carburetor needs some good cleaning.
To prevent more severe consequences, you should seek some professional assistance immediately. Though these situations are not that popular, experts still deduce that idling cars often imply some more severe issues underneath.
4. Flooding Fuels In The Carburetors
Here comes the most telltale sign: flooding fuels in the carburetor.
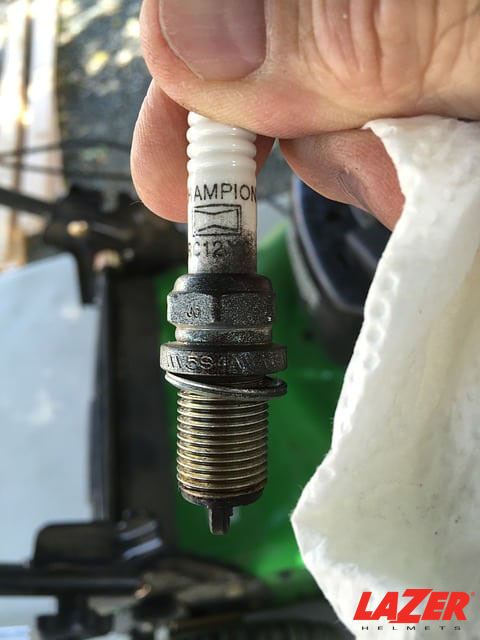
When your fuel bowl becomes dusty, its needle valve will stay wide open and cannot close, allowing fuel to overflow straight into the carburetors. These excess fuels keep sliding through bowl vents, soaking the spark plug and other engine compartments.
Verdict:
All these detailed descriptions should clearly demonstrate the disastrous extent of uncleaned carburetors. Do not delay the dilemma further; turn to the next section for cleaning tips.
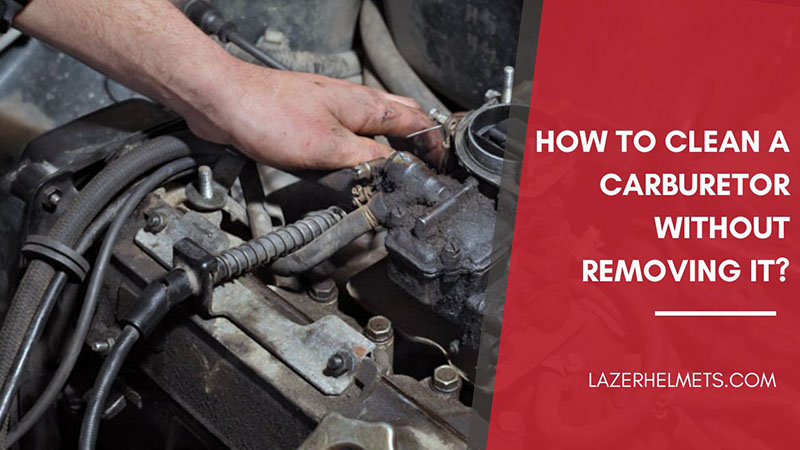
13 Steps To Cleaning Carbs on Motorcycle Without Removing Them
Step 1. Prepare Your Protective Gear and Switch The Engine Off
Before things start, remember to bring along your goggles and safety gloves. Face masks are also highly recommended!
After that, turn the engine off and confirm you have safely disconnected the spark plug.
Step 2. Remove The Car’s Air Intake Filter
The filter removal will clearly expose the carburetor’s back, allowing you to take a closer look at the valves’ closing and opening upon throttle turns.
Other linkages and surrounding hoses should also get extracted. If necessary, loosen the nuts and bolts using hand tools. Most carburetors also have a bottom bowl; remove it as well.
Step 3. Take The Float Off
Taking off the float is also important if you desire good access to what’s happening behind its back. It’s often connected with small wrist pins, which you can easily push out to extract the float altogether.
After the float slides off, you will see a part (whose form resembles rocket ships) associated with the rubber tip. This tip takes charge of puggling the line to avoid overflow issues. Remove that part too.
If you want to check whether the floats still work well, put them in a water bowl and check whether they can actually float. And when they don’t? It’s time to buy new ones!
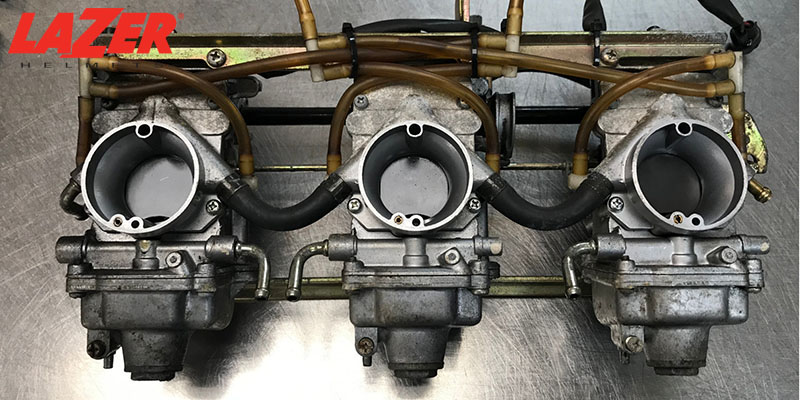
Step 4. Clean The Carburetor’s Jets
Next, unscrew all the jets (there are usually two: the primary and the secondary jets). After they are out, glance across these jets to confirm you have no trouble observing things through them.
One thing to remember: the jets often get clogged easily – which applies to most ethanol gas usage – and lead to malfunctioning carburetors. Hence, give them some cleaning to remove junk buildups and other substances you cannot see. You can use the carb cleaner at several intervals until they are squeaky clean.
Step 5. Turn Off The Petcock
Ensure you have switched off the petcock to prevent leaking gas. Still, the dripping might sometimes be inevitable, so prepare paper towels for those cases once the carburetors’ bottom bowls are off.
Lay those towels at the base to accumulate gas drips. Get clear passageways to the car carburetor, wipe excess gas, and be ready for the next steps!
Step 6. Vacuum The Surface
Use a cordless, handheld, and small-sized vacuum to remove all filth and dirt on the surface. You can set the device to a moderate or low setting and carefully run it through the compartment.
Do not be too hasty; take time and vacuum thoroughly. The more carefully you perform this task, the fewer hassles you will encounter later.
Step 7. Catch Runoffs At The Bottom With Cloths and Rags
Replace the previously-mentioned towels with slightly thicker cloths and rags. They will help collect remaining runoff to avoid hurting the surfaces – which is especially important for paint-coated carburetors.
Step 8. Apply The Cleaner
It’s time to prepare the choke and carburetor cleaner. Grip it tight and put it against the outer shield (there should be a distance of half a man’s palm between them).
After that, clean the carburetors directly without removing these devices. Shake your spray bottle well before placing your fingers on its nozzle and pressing down.
Make even and thin coats. Do not overlook the secondary connections and moving points – particularly the throttle linkage.
Now step back and wait for the cleaner to yield its magic. It will only take some minutes; be patient!
Step 9. Wipe Filths Away
Clean the filths using the cleaner solution and a good microfiber towel. Should there be solid sludges or buildups, work them out with a brush as stiff and bristle as possible(wire brushes are also recommended, and you may apply more cleaners if necessary).
Still not satisfied? It’s okay to repeat some steps above a few times; do not stop until you are sure the carburetors are spotless. Pay close attention to the openings.
Step 10. Let The Carburetor Dry Completely
Give another wipe to your carburetor using dry towels, and confirm no excessive moisture lingers. Once done, leave the device to dry on its own, which should take about one or two hours.
The best way to check its dryness is to touch the surfaces. Do they still feel super damp? Wait for some more.
Step 11. Run An Engine Performance Test
Remember the cloths and rags you put at the carburetor’s base earlier? Now remove them all – along with other hand tools.
After that, test the engine performance by starting it immediately. Are the results a huge step-up compared to before-cleaning periods? Then congratulations; your carb-cleaning tasks have been a major success!
Otherwise, go back and repeat the process. If the engine still does not live up to your expectation, consider actually removing the carburetors this time to clean them more thoroughly.
We know such methods are quite tedious (after all, you must rebuild them when finished cleaning). Unfortunately, that’s the only solution available if the guidelines above do not work out.
Step 12. Return The Compartments To Their Places
Seal the deal by putting back the air filter house. Return everything you have removed during the earlier steps to their places.
Step 13. Do This Cleaning Regularly
Now that you have learned how to clean carburetors, remember to do so at least every two weeks. Do not wait until these devices show clear signals of rusting/malfunctioning. It’s better to be safe than sorry!
Benefits of A Clean Carburetor
A spotless carburetor will help:
- Improve the bike’s acceleration. You will enjoy smooth acceleration with no shaking or jerking.
- Start the engine more quickly. Gone are the days you must struggle cranking the engine – especially on cold winter mornings.
- Result in better fuel economy. The vehicle can run longer per mileage without you having to visit the fuel station too often.
How Often Should You Clean The Carburetors?
If you do not use your bike that often, then once a month (or even a year) should be enough. But for those constantly engaged on dusty roads, try to clean the carburetors every two weeks.
Conclusion
This article has broken down the process into smaller, exact steps that even novices will have no trouble following. Of course, you can also turn to methods involving carb removals, but that’s a story for another day!
Try to keep a consistent cleaning schedule and double-check the carb’s condition after every ride. For stubborn dirt or grime that refuses to go away, do not hesitate to spend a little extra on high-quality motorcycle carb cleaner products.